How to Photograph Garment Measurements for a Size Enquiry
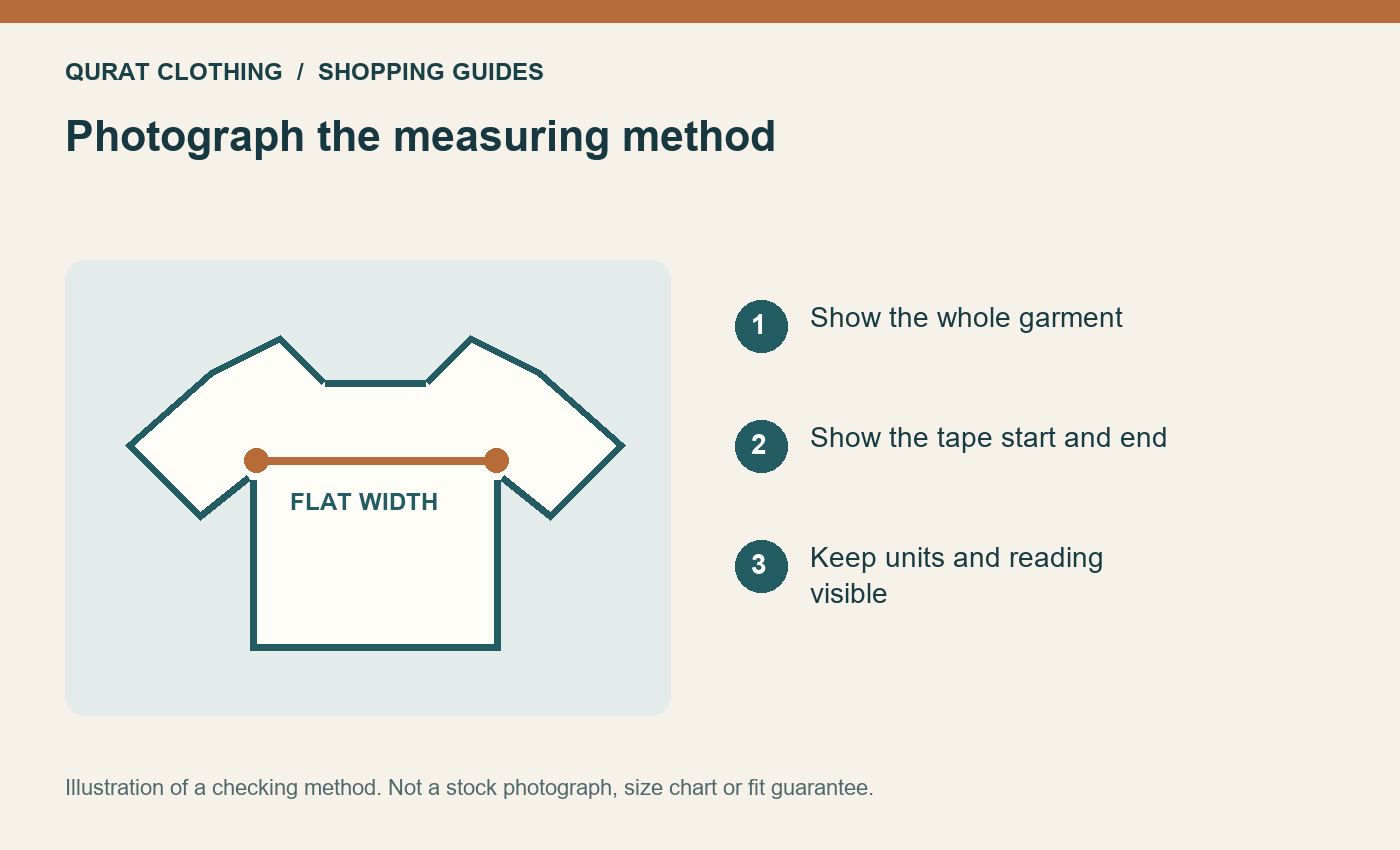
For a useful clothing-size enquiry, photograph the whole garment, the start and end of the measurement, and the tape's units. Keep the garment relaxed and use the same measuring points as the seller. A clear number without a clear measuring method can still lead to the wrong comparison.
You can use a comfortable garment you already own as a reference. The photographs help explain that reference; they do not prove that another garment will fit identically. Differences in fabric, cut and the way a piece is worn still matter.
Prepare the garment and tape
Choose a flat surface with enough room for the garment. Smooth obvious folds without pulling the fabric wider or stretching the waistband. Keep the tape readable and avoid placing it at an angle simply to fit everything into the picture. Use one unit consistently, and show whether the tape is marked in inches or centimetres.
Ask which measurement the seller needs before starting. A relaxed flat chest width is a different record from body circumference. An outseam is different from an inseam. Our size and fitting guide gives a starting point for matching the measurement method.
A four-photo checklist
| Photo | What to show | What it resolves |
|---|---|---|
| 1. Whole garment | Front or back, laid flat, with its shape visible. | Which garment and side you measured. |
| 2. Full tape position | Both measurement endpoints in the same frame. | Whether the tape follows the agreed path. |
| 3. Start point | The tape's starting mark against the exact seam or edge. | Whether the reading starts at zero or another mark. |
| 4. End point and units | The finishing edge, number and unit scale. | Which reading should be recorded. |
Example: comparing a child's sweatshirt
Suppose a comfortable sweatshirt is your reference. Photograph it flat, then place the tape across the chest at the agreed points. Show the tape running across the garment and the reading at the far edge. Record that this is a flat garment width, not the child's body measurement.
Next, photograph the overall length and sleeve measurement separately. Do not assume two sweatshirts have the same sleeve measurement simply because their chest widths match. Use the children's measurement guide to organise the different dimensions. This is a method example, not a suggested size or a universal sizing table.
What to write with the pictures
Include the QC code or product link you are considering, the selected size if one is available, the reference garment's measurements and the exact question you want answered. Say whether the intended purchase will be worn over another layer. You do not need to include a child's face, home address or other unrelated personal details in a measurement photograph.
A useful message is: “I am considering QC [code], size [label]. My reference top measures [number and unit] across the chest, measured flat as shown. Can you confirm the same dimension for the selected item?” Replace the brackets with your actual information; do not treat a label alone as the requested measurement.
Check before sending
- Can the other person identify the garment and measuring points?
- Are both ends of the tape visible across the set of images?
- Have you used one unit consistently?
- Does the reading match your written note?
- Is any measurement missing from the listing still unresolved?
Browse current boys' clothing or women's clothing and keep the actual product code with the enquiry. Stock and available sizes can change. A measurement enquiry is not a reservation or a guarantee of fit.
Comments
Be the first to comment.